
Getting around Tracmor is quick and easy once you know where each type of menu is and what it does.
The side menu
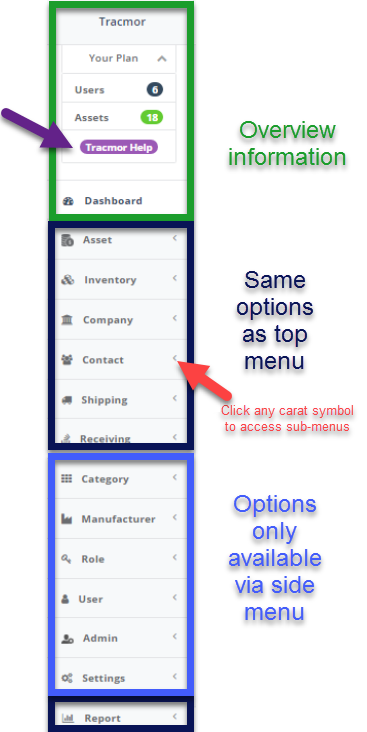
The side menu is especially useful for anyone with admin permissions and also during setup because it allows access to many "behind the scenes" settings.
Help: Access help articles by clicking on Tracmor Help (side menu, see purple arrow below) or, click on the question mark (upper right corner):

The side menu contains three types of information: overview, same options as top menu, and options only available through the side menu. Each of the menu options provides sub-menus that are accessed by clicking on the carat symbol (shown by red arrow).
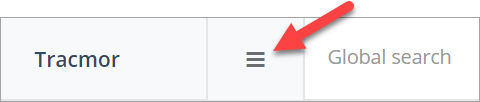
Tip: Once you are set up, chances are you will not use this menu very often, so you can toggle between hide/show by clicking on the icon with three bars at the upper left corner.
Global search
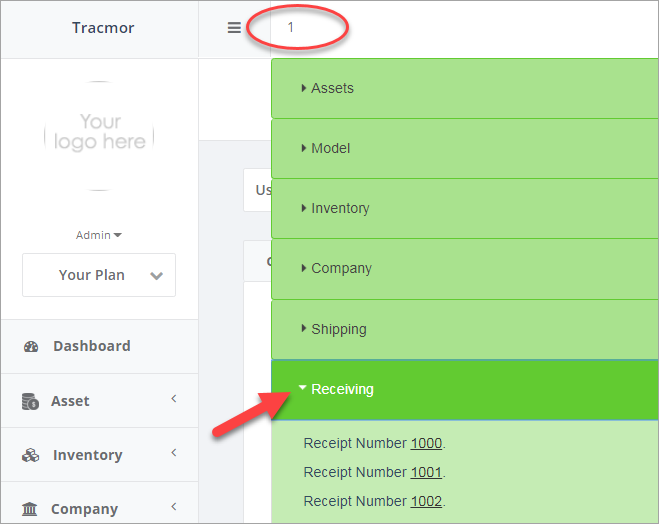
The Global Search field at the top allows a quick search of information in six modules shown. In this example, entering a search term of "1" produced many results in each module, each of which contained the number 1. Click on the module of interest to find what you are looking for.
Note: Use the Search dialog box to conduct a targeted search.
The top menu
Especially once setup is complete you will want to navigate using the top menu to gain quick access to all main functions and transactions for assets and inventory items.
Note: These seven main functions can also be accessed via the side menu.

Clicking on any top menu provides access to sub menus, the search function, and a List for that option; a list of assets, or inventory, or companies, etc., each of which described in more detail below.
Sub menus
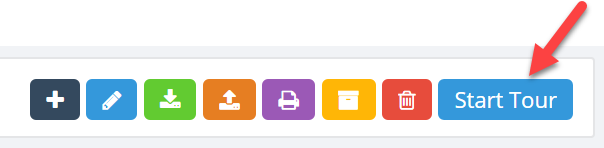
A subset of the following icons are available in the top right corner for the first six top menu options (also if you arrive via the side menu).
The icons always initiate the same function. For instance, the dark blue plus icon always opens a Create dialog box, and the green down arrow will always initiate Import.
Tip: If you want a reminder, click on "Start Tour" for a capsule description of how each function works under your current menu.
Note: Additional sub menus are described in detail in What do I need to know about assets? and other articles on particular menu options listed in Related Articles below.
Search function
The Search dialog box is available by default for many side menu and top menu options. If you do not need the search function, click on the carat symbol to the right and search options will be hidden.

Conversely, if you need access to advanced search options, click on the carat symbol to the right of Advanced Search (below the Search dialog box):

Lists
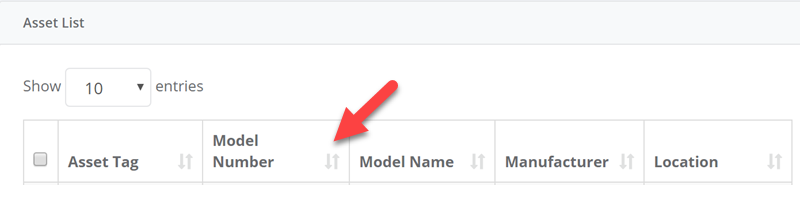
A list will always display below the search function and will correspond in content to the menu option you clicked on (assets, inventory, contacts, companies, shipping, or receiving). To sort the list, click on the arrows to the right of each column, as indicated by the red arrow in this example for an Asset List.
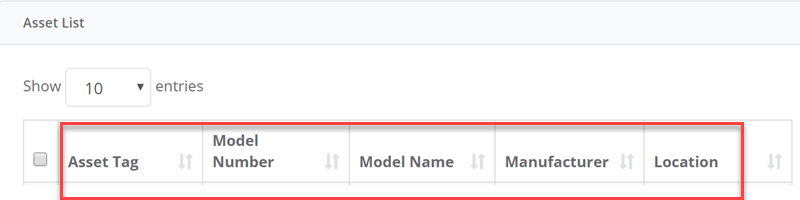
The list view for each option shows a subset of required fields, as shown by the default fields displayed for an Asset List in the example below.
Managing lists
You can easily change how the list view displays by specifying which fields to display (including custom fields, which you can create if you have admin permissions).
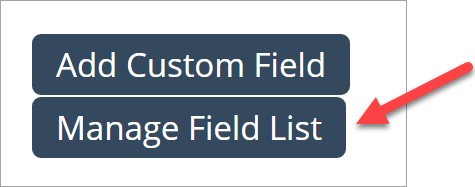
Navigate to Settings>Module Field List Settings on the side menu, where you will find controls for ten modules. On any of these, click on Manage Field List.
The Field List for each module displays all built-in fields. To include a field in the List View for that module, simply drag the box with that label from the "Available Items" column to the "Selected Items" column, as shown by the arrow below.
Once the box is in the Selected Items column, click Save, then click OK on the confirmation message.
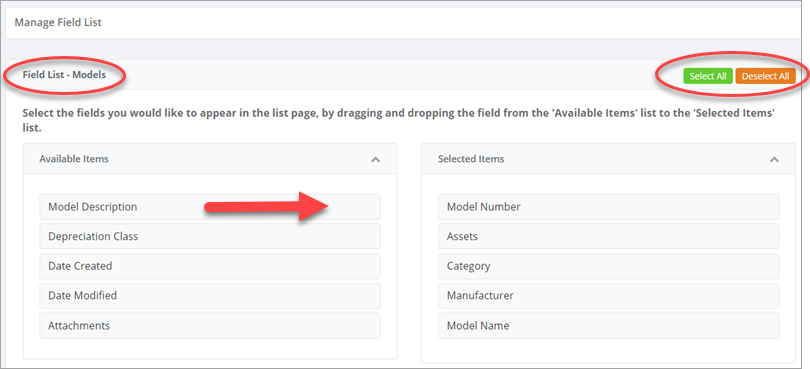
Shortcut: If you want all Available Items to become Selected Items, click on Select All in the upper right hand corner. If you want to start over, so to speak, you can click on Deselect All and then drag only the fields you want to display into the Selected Items column.
Related Articles
Settings Unique to the Side Menu
What do I need to know about roles?
What do I need to know about users?
What do I need to know about custom fields?
What do I need to know about depreciation classes?
Building and Managing Assets and Inventory
Building the Foundation Quickly - Import Overview
What do I need to know about assets?
What do I need to know about asset models?
What do I need to know about categories?
What do I need to know about manufacturers?
What do I need to know about areas?
What do I need to know about locations?
What do I need to know about reports?
What do I need to know about contacts?
What do I need to know about companies?
What do I need to know about receiving?
What do I need to know about shipping?
What do I need to know about inventory?
0 Comments